Summary
– Trends BO and FT
– Trading Ranges don’t – so they fail and reverse and FT
– So fading BO’s in the TR is the key skill to develop
Investigation

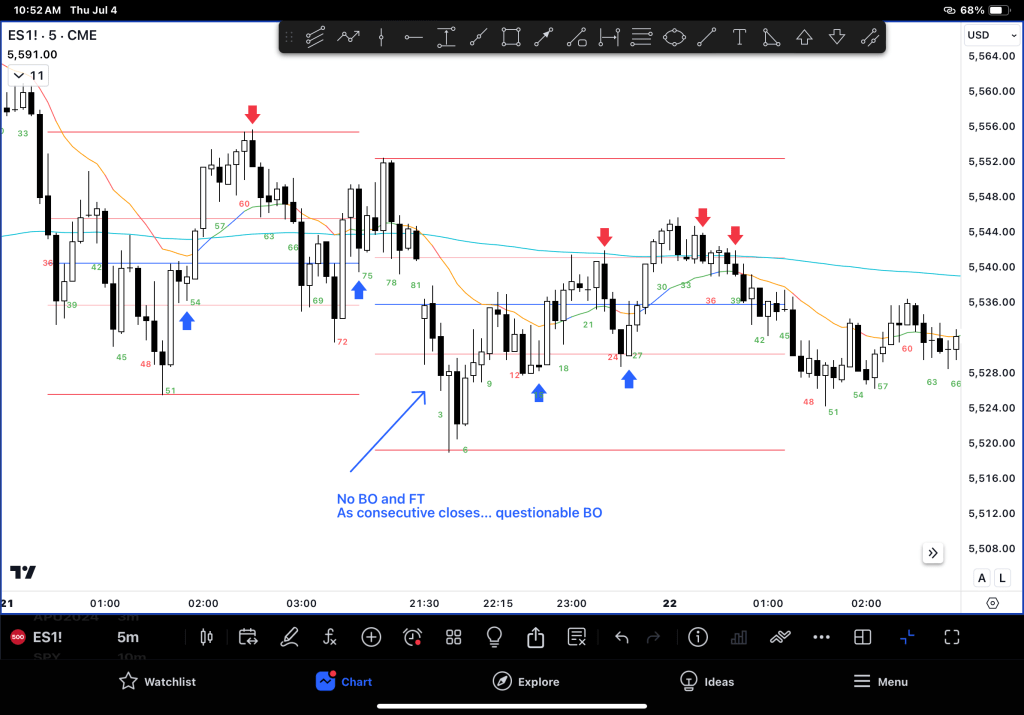
– In the chart below, you can see one side DOESN”T get the 2nd entry… that’s a sign for things to come.

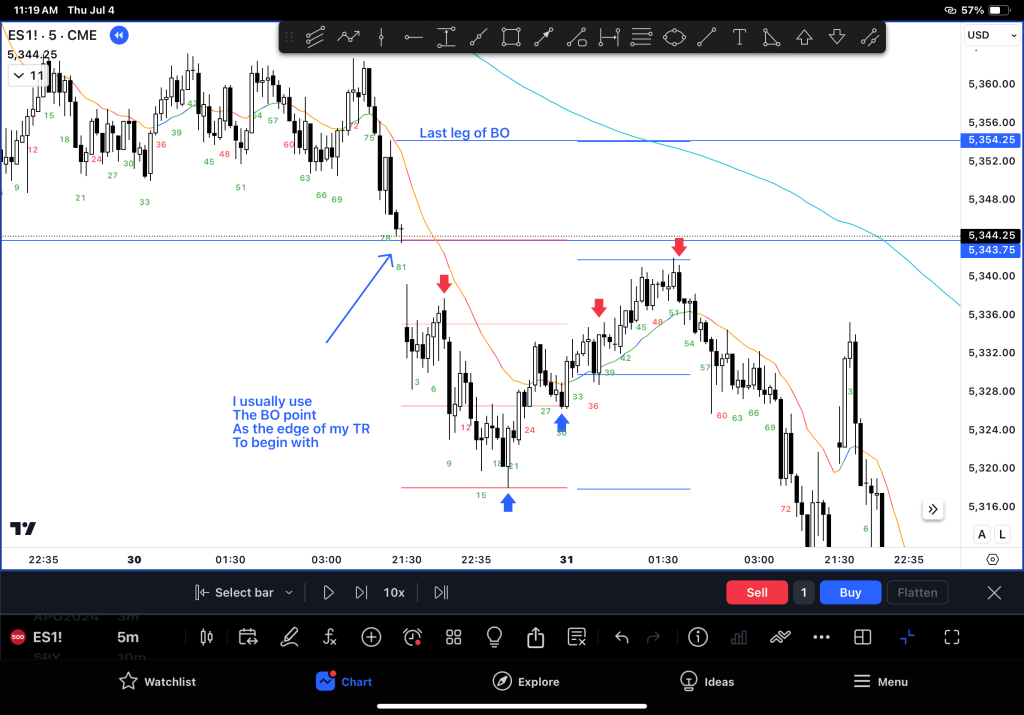
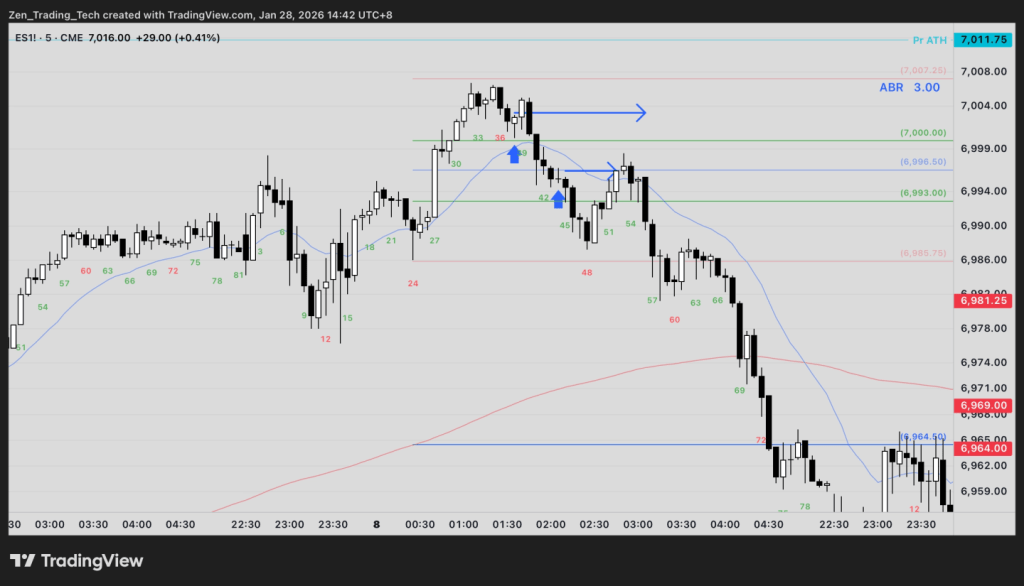
– So now we can see that the TR starts from the last leg – the top of the last SX and low of the last BX being magnets.
– On the chart above, once the reversal to B9 happens, let the L2 go and wait and see if it fails – if the L2 works then new LOD likely and there will be more Channel entries likely.
– So what about when the range breaks out finally?

– So which range is the “range”?
– Well we can combine them like this chart

– In the transition from trend to trading range a flag fails. See below once way to analyze
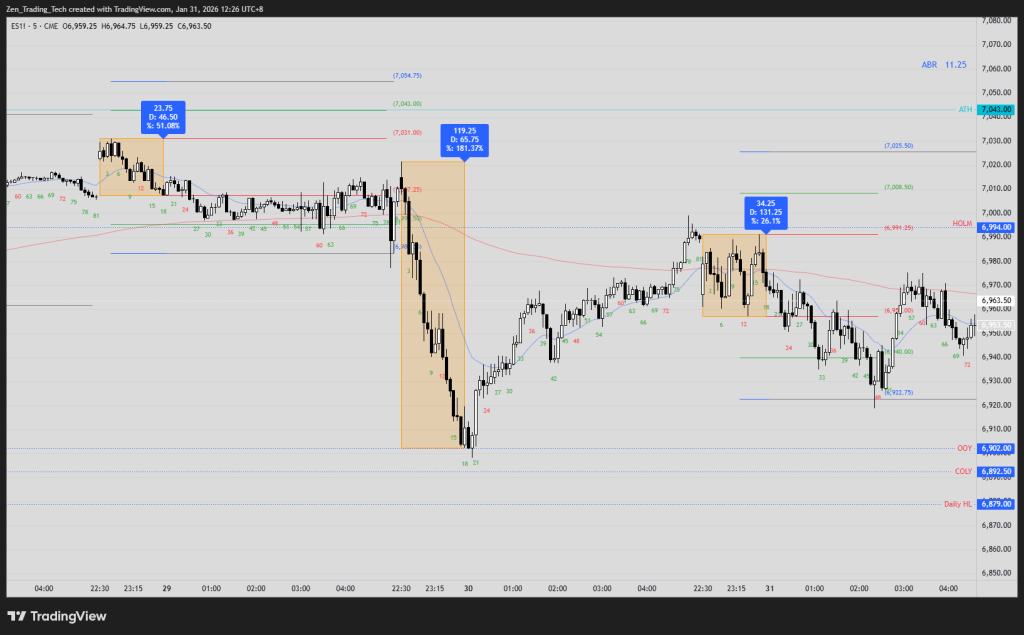
– Once we went below B1 it became a larger trading range
– It’s a good technique because even if it fails, that area becomes a secondary trade like the below chart

– the market tries one way and then the other. But there are signs that the market is building momentum before it gets out of the TR.
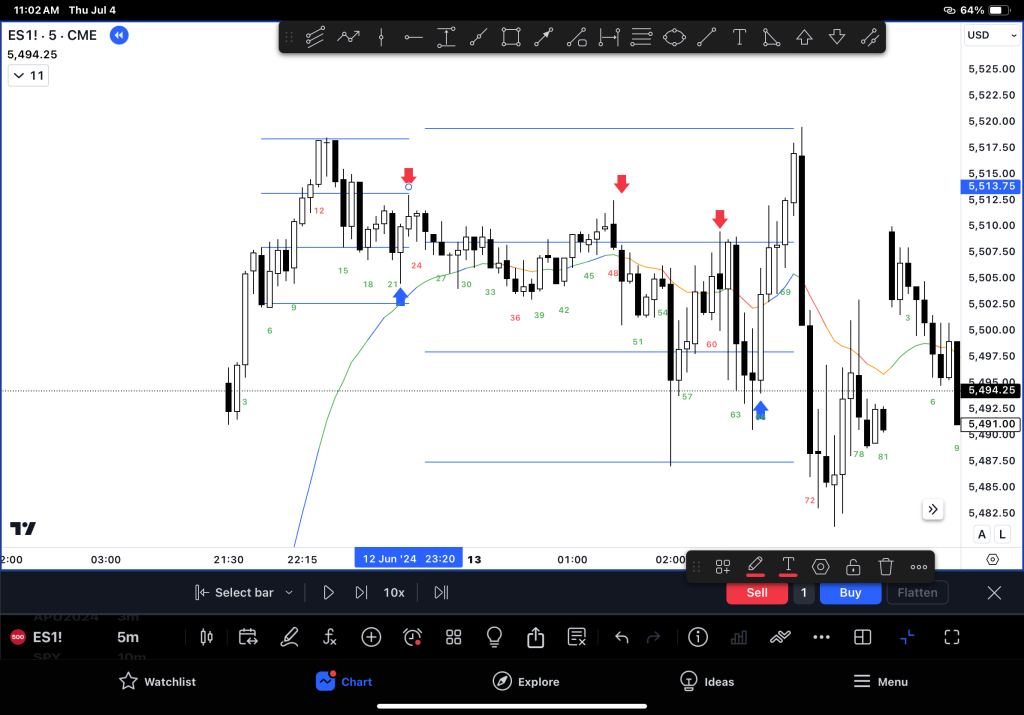
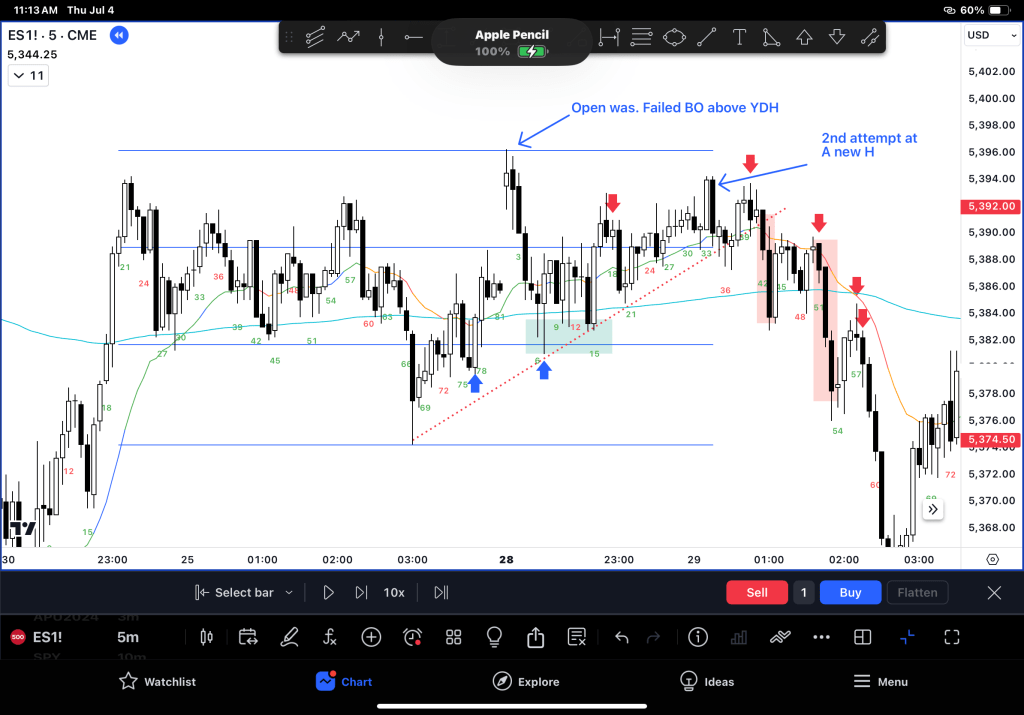
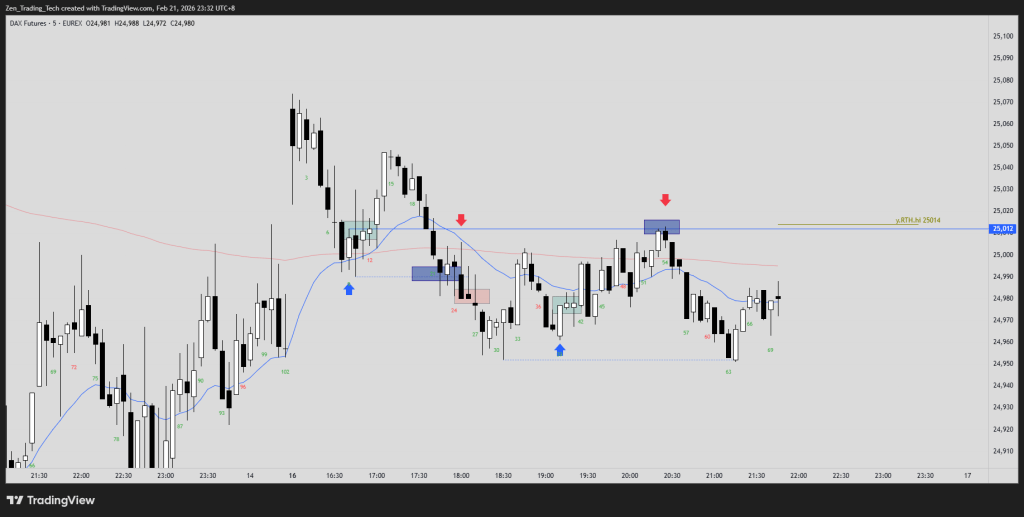
– See below for a 2nd failed attempt at a BL BO led to multiple short trades
– So how to draw the right TR before you can see the whole pattern?
– I like to use the gap, the breakout point as my range.
– Here you can see sometimes it is the whole leg from back in the range
– TR are forgiving if you trade small and scale in

Conclusion
– Trading range trading is heavily dependent on seeing the range first and then taking a second reversal.
– But as the range shifts then it becomes less clear, and traders are more likely to EXIT on strong bars not stay in.
Enjoy!


Leave a comment